How to Make Bows with Ribbon for Hair: A Simple DIY Guide
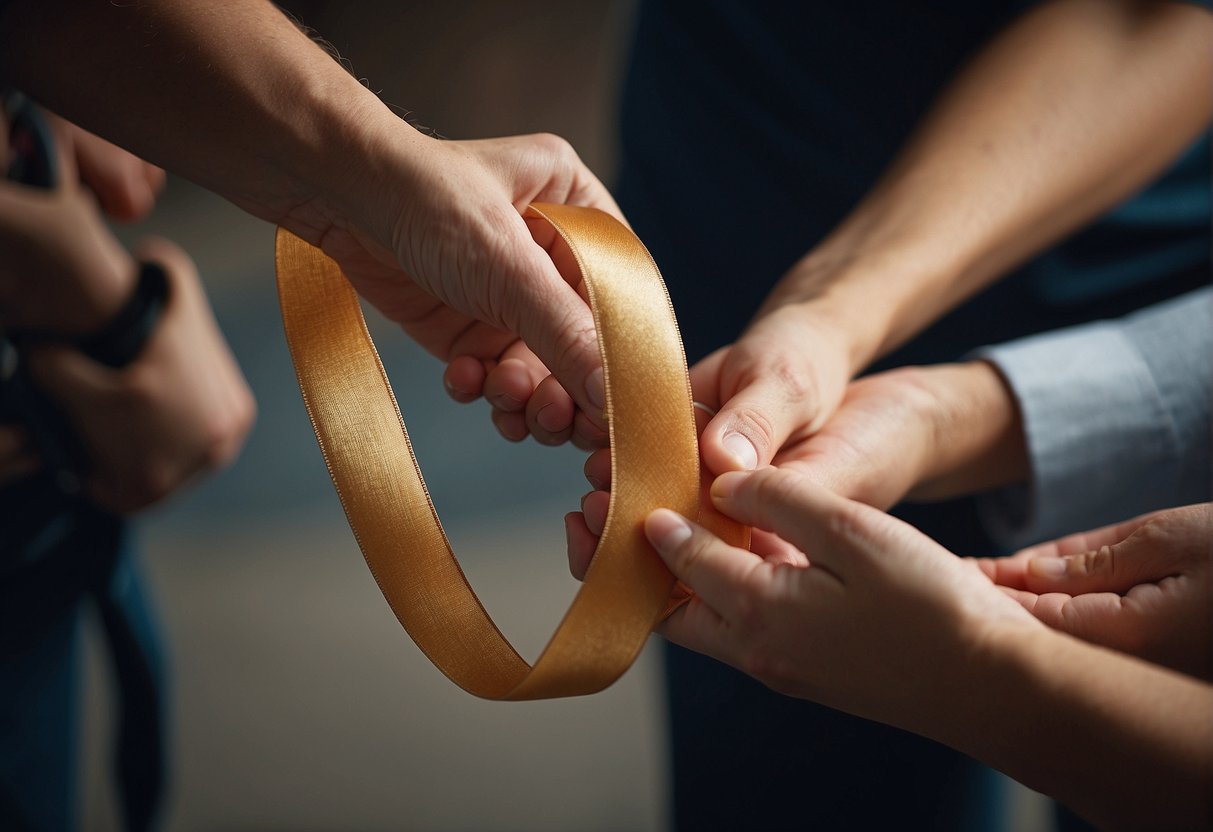
Making hair bows with ribbon is a creative and enjoyable way to accessorize your hairstyles. With a variety of ribbons in different colors, patterns, and textures at your disposal, you can craft unique bows that add a personal touch to your look.
Whether you’re dressing up for a special occasion or simply want to add a little flair to your everyday hairdo, creating your own hair bows is a satisfying DIY project.
Crafting bows for hair involves a simple process that anyone can master with a little practice. You’ll need ribbon, scissors, a glue gun or thread, and a clip or barrette to attach the bow to your hair.
The beauty of making your own bows is that you can customize every aspect, from the size and shape of the bow to the type of ribbon used. With homemade hair accessories, you ensure your style stands out while showcasing your crafting skills.
Understanding Ribbon Types
When you’re making hair bows, the type of ribbon you choose is crucial in achieving the desired look and durability of your design.
Exploring Ribbon Materials
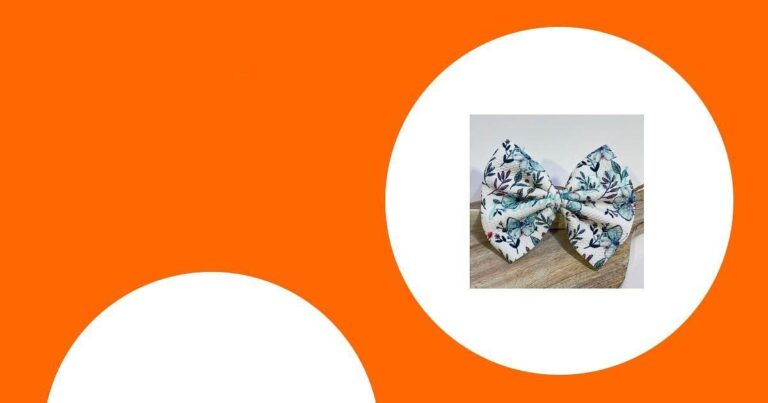
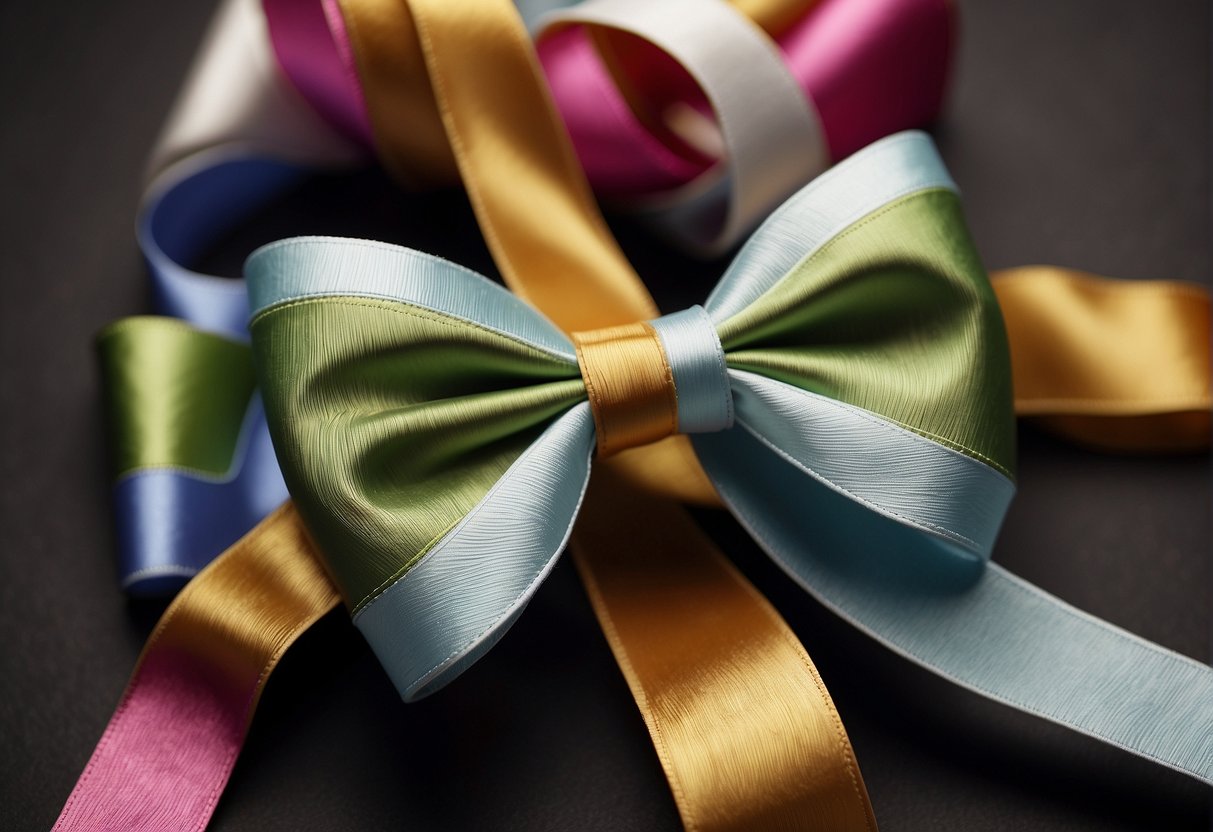
Grosgrain and satin are two popular materials for ribbon, each offering a distinct texture and appearance for your hair bows.
Grosgrain ribbon is characterized by its ribbed texture, providing a sturdy and flexible option that holds shapes well. Meanwhile, satin ribbons are smooth with a glossy finish, adding an elegant and shiny touch.
- Grosgrain Ribbon: Ribbed texture, great for holding shape
- Satin Ribbon: Smooth, glossy finish for a classic look
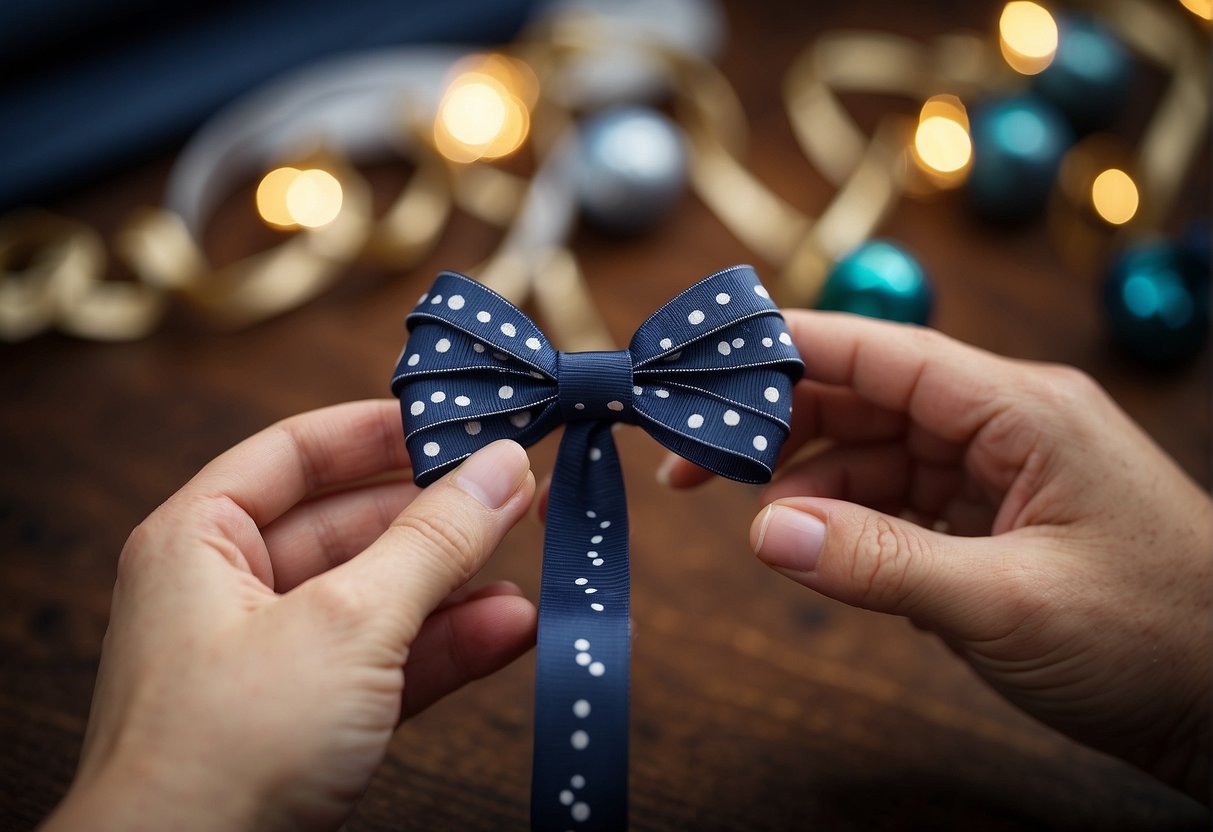
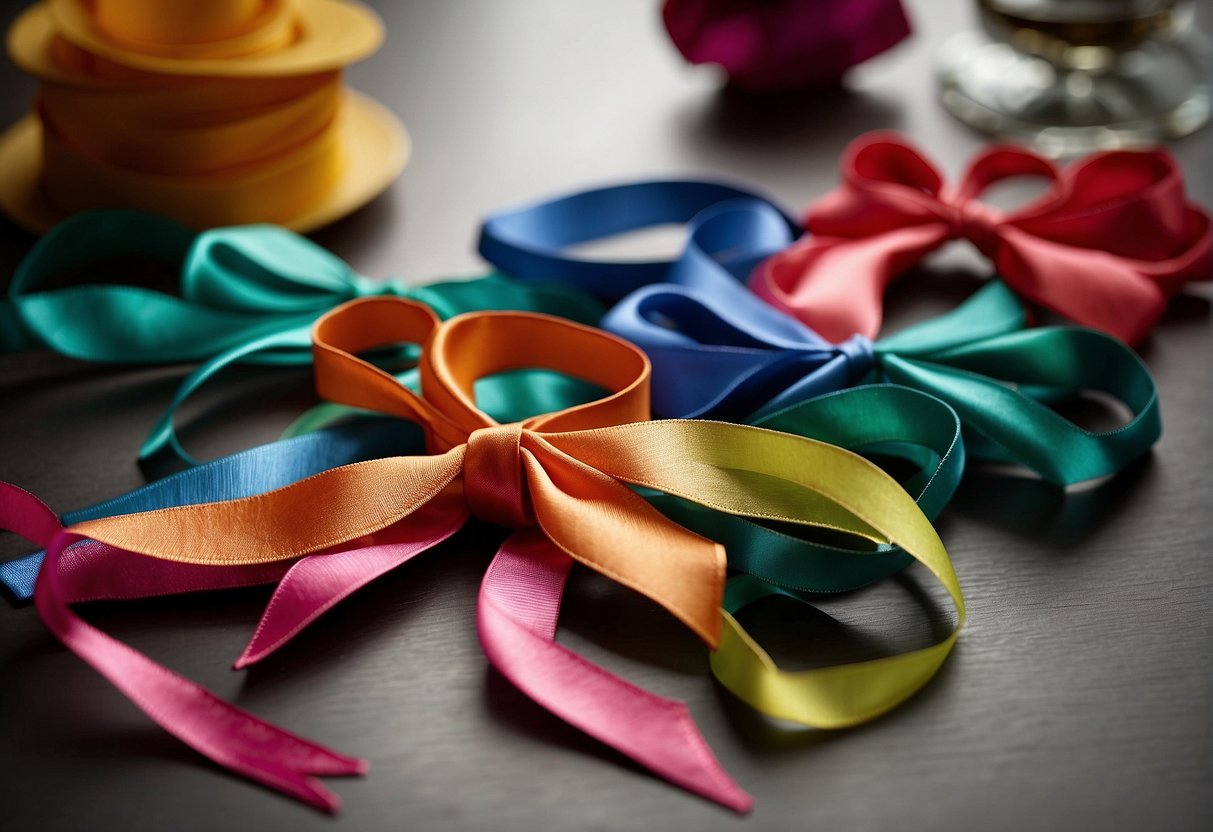
Selecting Ribbon Colors and Patterns
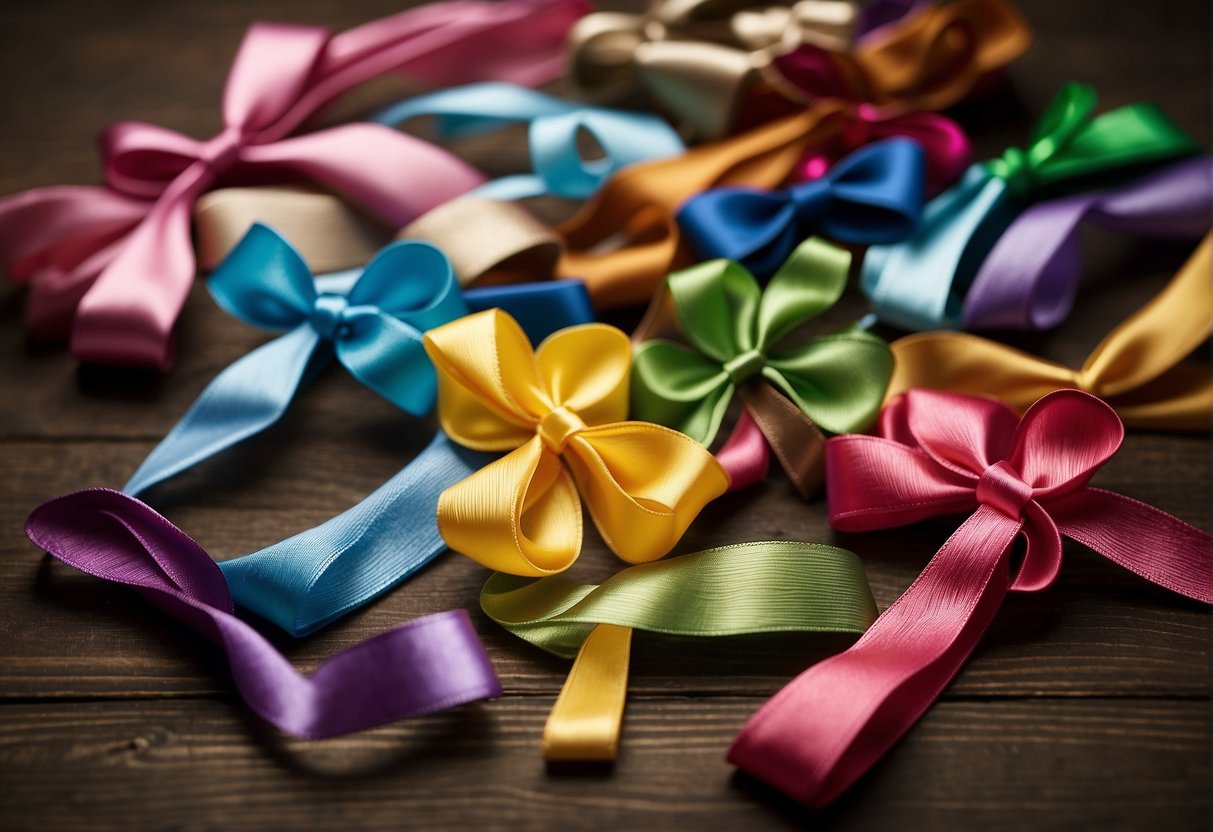
Your ribbon selection should reflect the occasion or your personal style. From vibrant solids to intricate patterns, there’s a variety to choose from. You can mix and match different colors and patterns to create unique and eye-catching hair bows.
- Solid Colors: A single, bold color for a strong statement
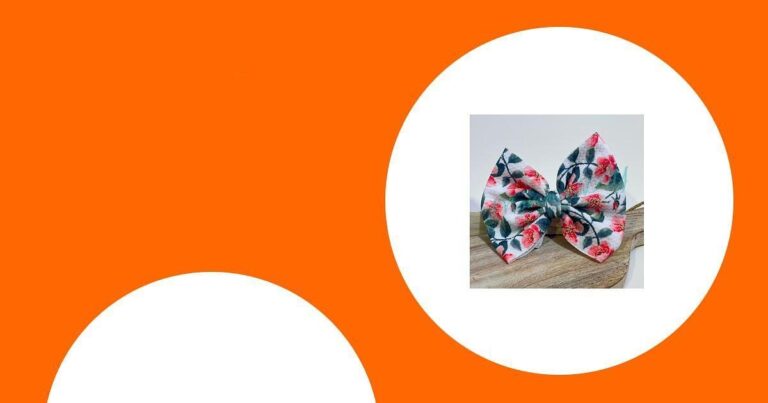
- Patterned Ribbon: Polka dots, stripes, or floral designs for a creative twist
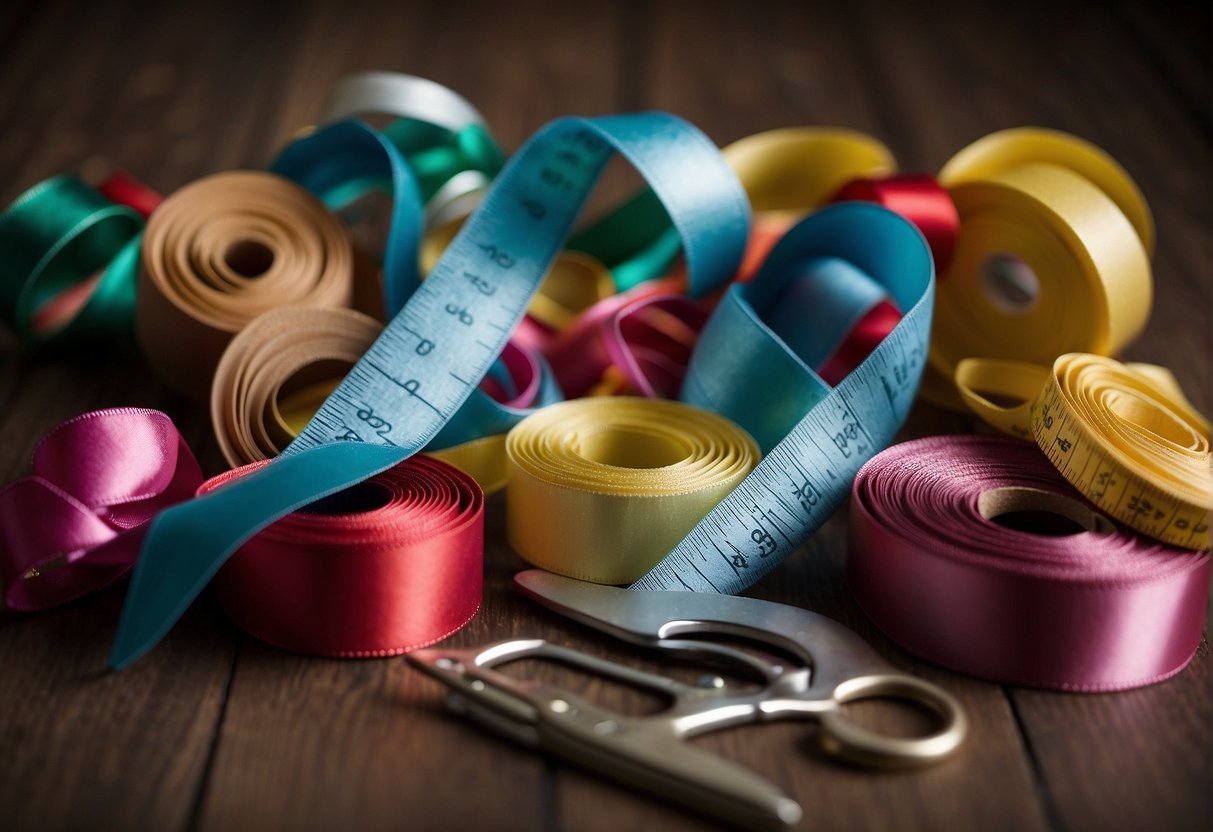
Choosing Ribbon Width and Texture
The width of your ribbon can dramatically alter the bow’s size and prominence. Here are common widths and their usual applications:
- 1/4 inch – 1 inch: Suitable for smaller, delicate bows
- 1-3 inches: Ideal for medium-sized bows with more body
- 3+ inches: Best for large, dramatic bows
The texture of the ribbon—whether it is smooth, woven, or textured—can also affect the bow’s final look. Remember, finer fabrics might require more delicate handling, while thicker textures will add volume and hold their shape better.
Basic Supplies and Tools
Before starting your bow-making project, you’ll need to gather some essential tools and materials. This will ensure a smooth workflow and a beautiful finished product.
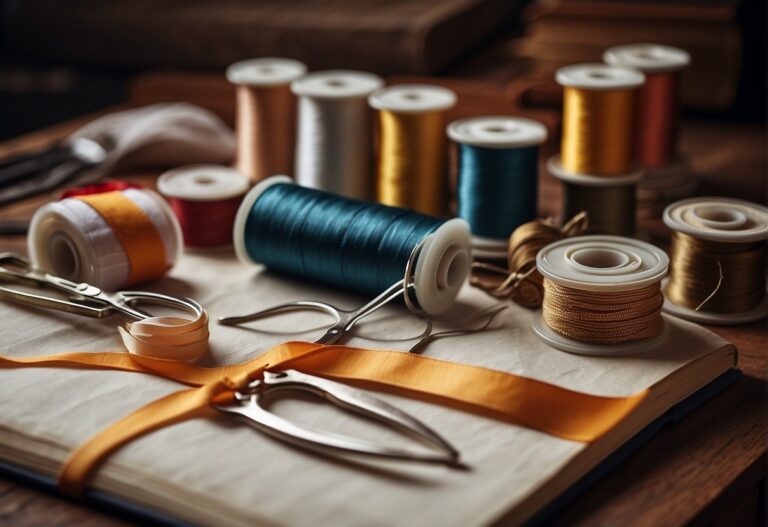
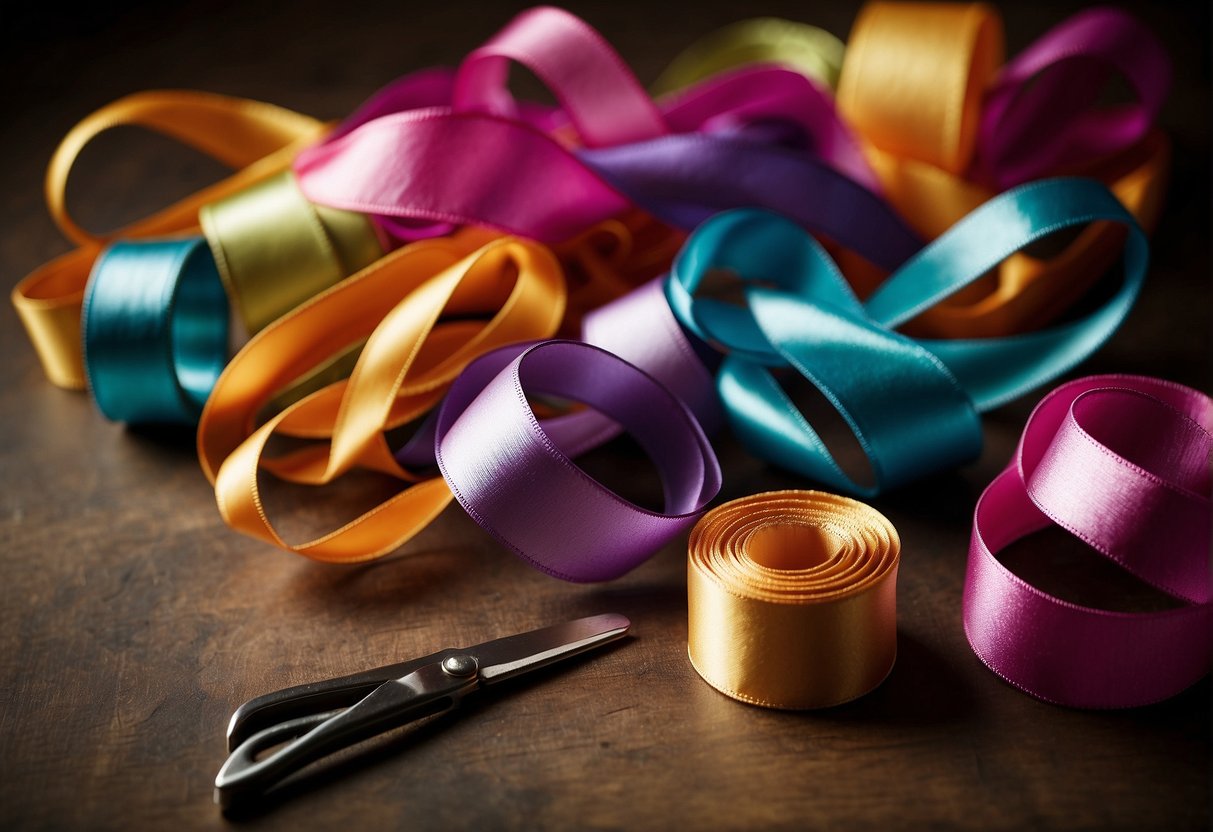
Essential Tools for Bow Making
Scissors and a hot glue gun are your primary tools. Use sharp scissors for clean cuts on your ribbon, and a hot glue gun for durable attachments.
Needle and thread come in handy if you prefer sewing over gluing. A lighter is useful for sealing the ends of the ribbon to prevent fraying.
Additional Accessories and Embellishments
Once you’ve got the basics, you might want to accessorize your bows. Alligator clips or headbands serve as the base to attach your bows to, making them ready to wear.
You can also add flair with additional embellishments like beads or sequins – just make sure you have the right glue to secure them.
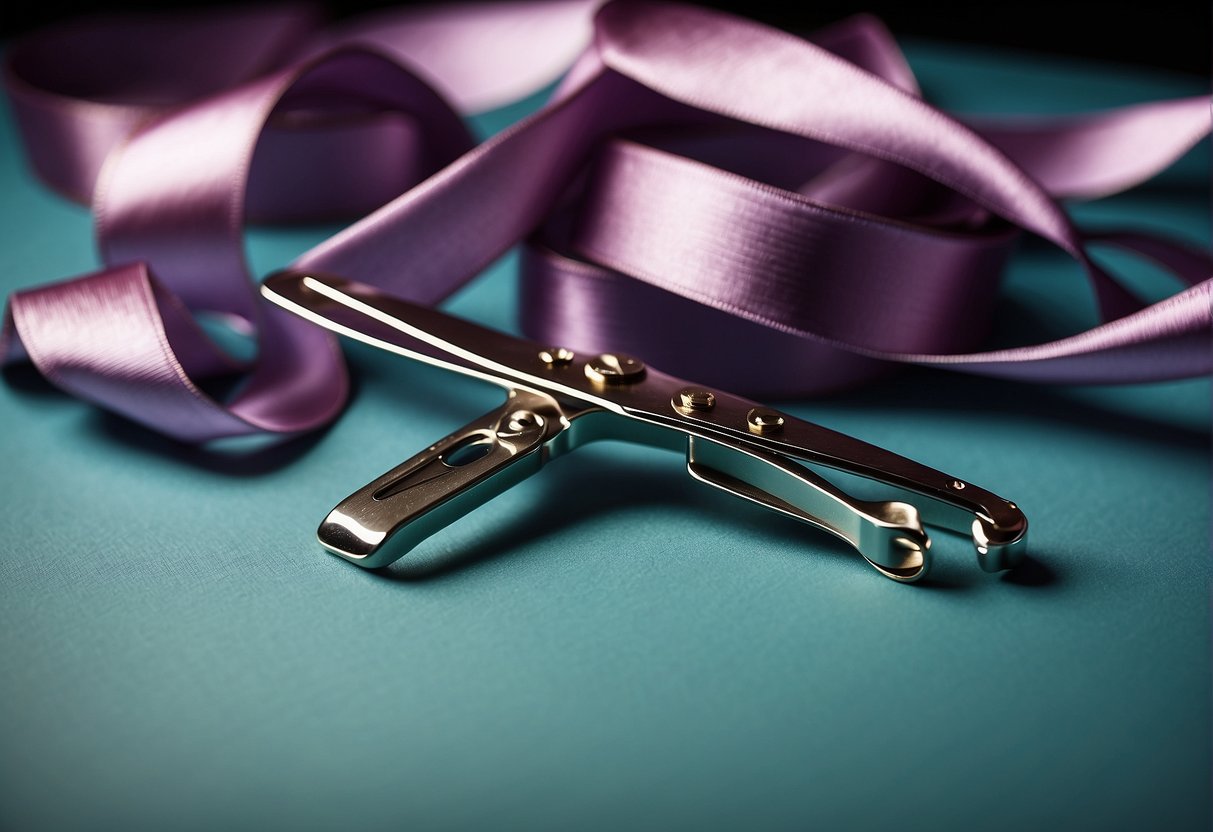
Preparation Steps
Before diving into the bow-making process, you need to properly measure and cut your ribbon, and prepare the edges to prevent fraying. These initial steps are crucial for crafting a durable and beautiful hair accessory.
Measuring and Cutting Ribbon
First, lay out your chosen ribbon on a flat surface. Using a ruler, carefully measure the length needed for your bow. Standard hair bow lengths can vary, but a good starting point is to cut (9 inches) for a medium-sized bow.
Hold the ribbon firmly and use sharp scissors to make a clean cut. Ensure your measurements are precise, as uneven or poorly measured ribbons can affect the final appearance of your bow.
Sealing the Ribbon Edges
Once cut to the desired length, it’s time to prevent the edges from fraying by applying heat. This technique is known as heat sealing, and it gives your ribbon a professional-looking finish.
Lightly pass a lighter flame along the cut edges of the ribbon very carefully. The goal is to lightly melt the fibers just enough to seal them, so be cautious during this step to avoid burning the ribbon or yourself.
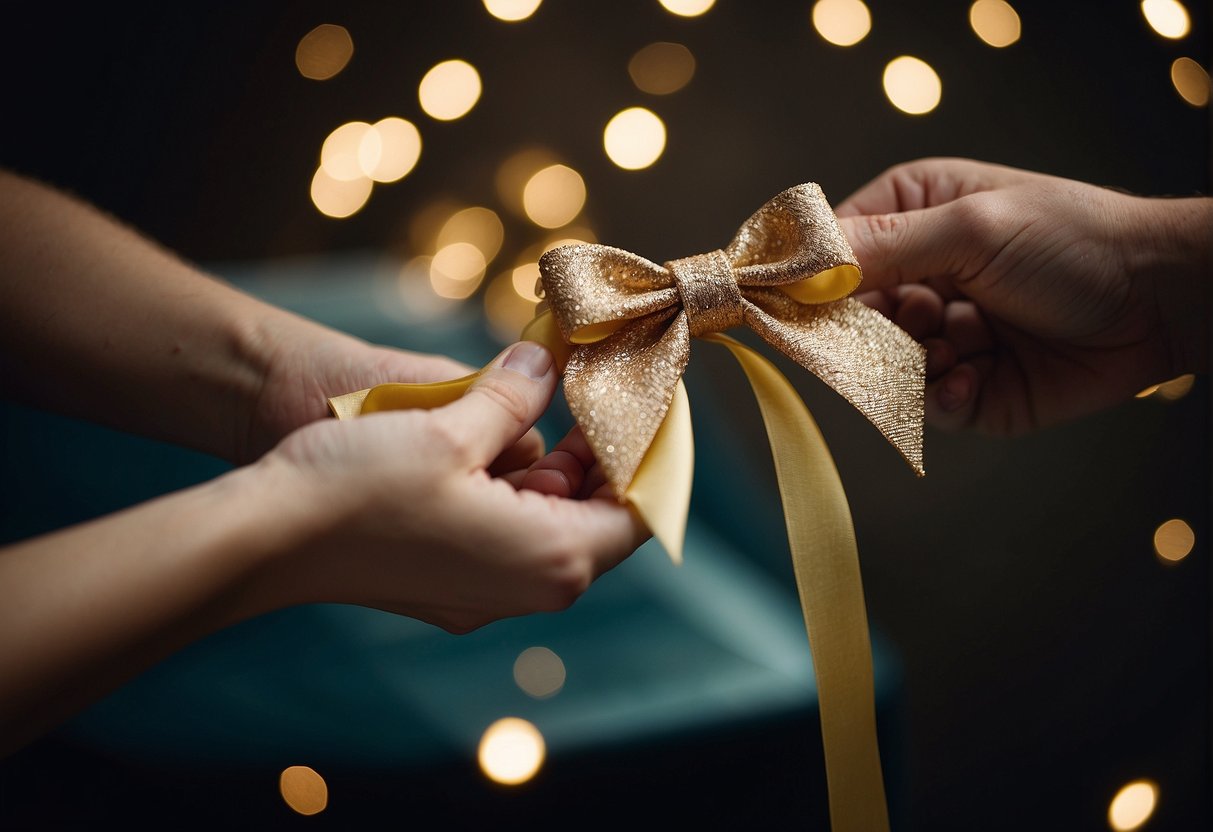
Creating the Bow Structure
Crafting the perfect bow with ribbon involves two crucial steps: forming symmetrical loops and securing the center firmly. This will be your blueprint for a beautiful hair bow.
Forming the Loops
To start, select a ribbon of your choice and cut it to the desired length. Remember, the length of the ribbon will determine the size of your bow, so measure accordingly. Create a loop by folding the ribbon back onto itself, ensuring both ends are even.
This forms the first loop. Then, bring the other side of the ribbon around to create the second loop, making sure it mirrors the first in size and shape. It’s essential to have an overlap at the center; this is where you’ll secure your bow.
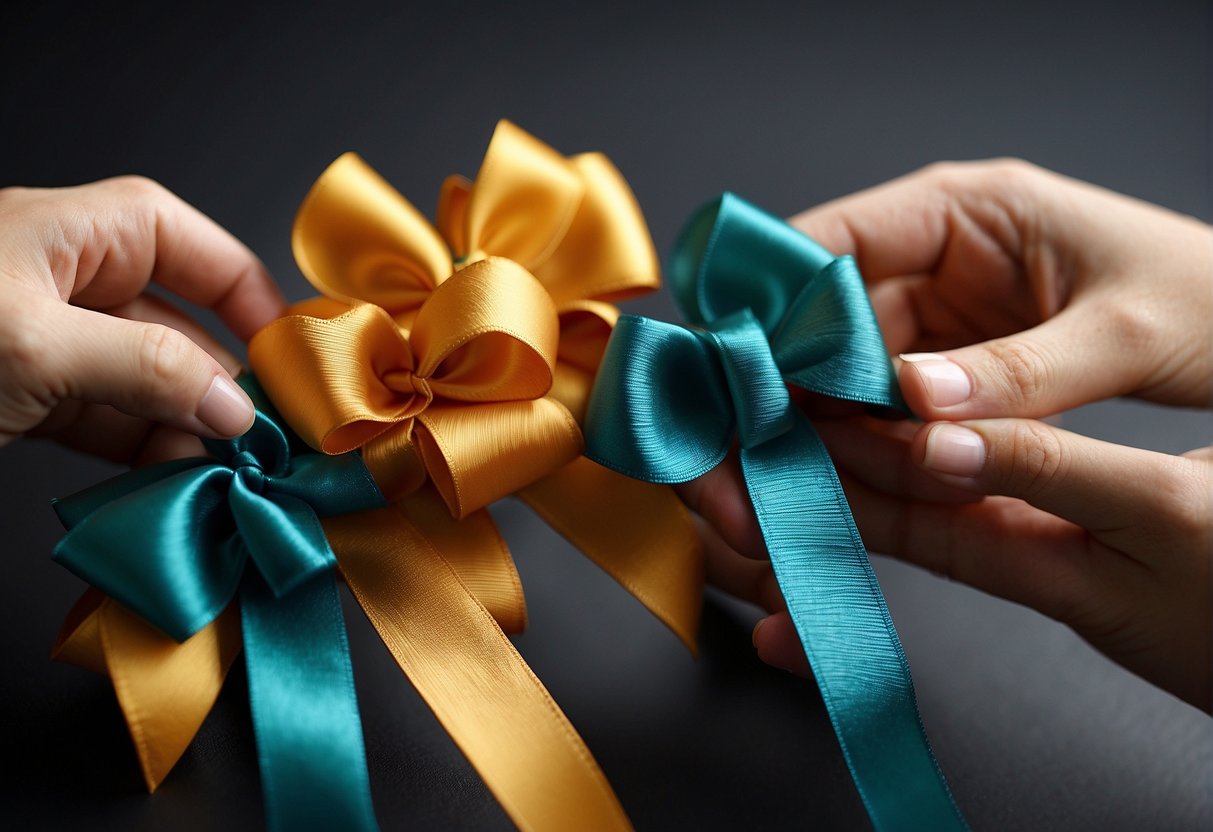
Securing the Center
After shaping your loops, focus on the center of the bow. Pinch the overlapped section between your fingers to define the shape further.
Now, tie a knot or use a small piece of wire or thread to fasten this part tightly. The security of the center ensures your bow maintains its shape and stays intact when attached to a hair clip or band.
Folding Techniques for Different Bow Styles
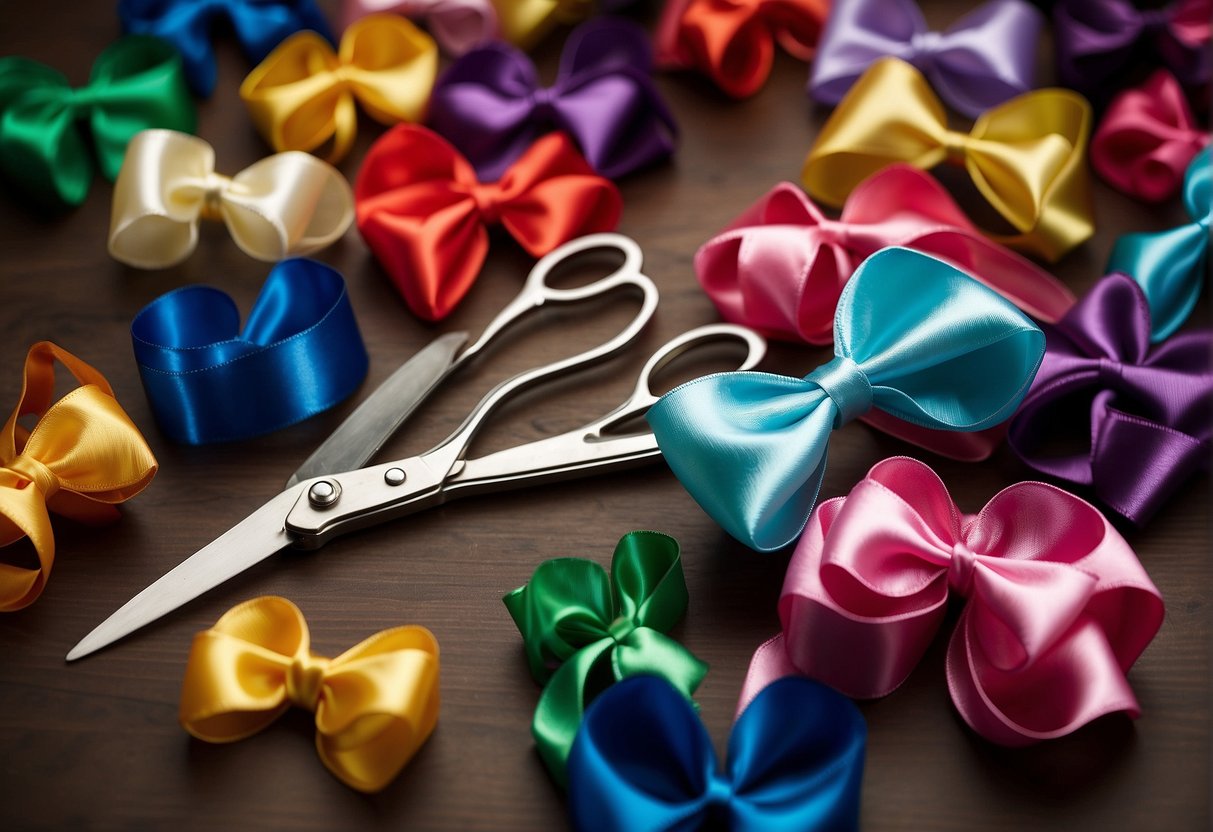
Creating the perfect bow for your hair involves mastering various folding techniques that cater to distinct bow styles such as the simple Classic Bow, the voluminous Boutique Hair Bow, and the dapper Bow Tie. Each design has its own pattern and charm that can elevate your hairstyle.
Classic Bow
To make a Classic Bow, you’ll start with a piece of ribbon about 18 inches long.
- Make a loop with each end of the ribbon, making sure the loops are even in size.
- Cross the right loop over the left, then bring it through the hole formed at the base of the loops.
- Tighten the knot by pulling the loops. Adjust until you have a balanced, symmetrical bow.
This style mirrors the timeless and elegant appeal of a traditional bow, fitting for any occasion.
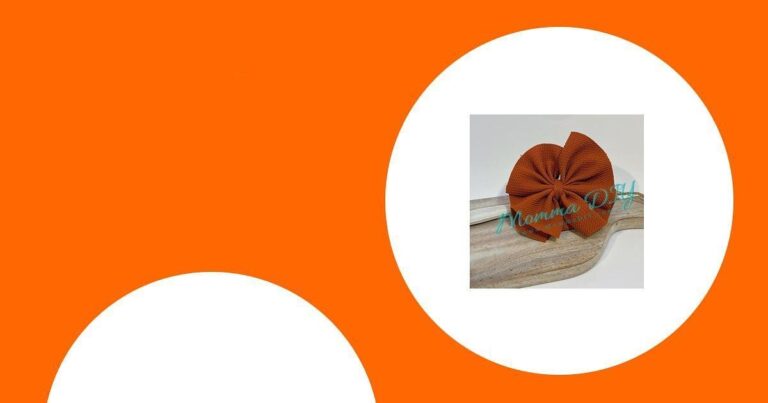
Boutique Hair Bow
The Boutique Hair Bow requires more intricate folding to achieve its full and layered look.
- Begin with a longer ribbon to create multiple loops.
- Fold the ribbon back and forth, accordion-style, maintaining even loop sizes.
- Secure the center with a thread or wire.
- Fan out the loops and fluff for volume.
This method gives your bow a professional and stylish flair, perfect for making a statement.
Bow Tie
The Bow Tie style is sleek and suited for formal hairdos.
- Cut a shorter length of ribbon than you would for a classic bow.
- Create smaller, tighter loops for a compact look.
- Wrap a small strip of ribbon around the middle to mimic the knot of a bow tie.
- Glue or stitch the center strip in place for a neat finish.
Remember, your bow tie should be proportional to your hair volume to complement your overall style.
Attaching the Bow to a Hair Accessory
Once your bow is ready, you’ll want to attach it securely to a hair accessory of your choice. Whether you opt for a hair clip or decide to embellish headbands or hats, a firmly attached bow will add charm to any hairstyle.
Using Hair Clips
To attach a bow to a hair clip, such as an alligator clip, you’ll need to make sure that the bow is the right size to fit the clip. Use a strong adhesive like hot glue to bond the bow to the clip, being careful to center it for a polished look.
Some methods suggest stitching the bow directly onto the clip for added durability, using a needle and thread to firmly secure the ribbon to the clip’s grip points.
- Hot Glue Method:
- Apply hot glue to the clip.
- Press the bow onto the clip until set.
- Sewing Method:
- Align the ribbon with the clip.
- Sew the ribbon ends onto the clip’s base.
Adding to Headbands or Hats
When adding a bow to a headband or hat, you’ll want to ensure it’s positioned where it can be seen and enhances the accessory.
For headbands, wrap the center of the bow around the band and secure it with stitches or glue.
For hats, sew the bow onto the hat’s band or on a spot where it will stand out.
Placement is key; determine where on the headband or hat the bow will look best before attaching it.
Headbands:
- Place the bow on the headband to determine position.
- Secure using stitches or glue.
Hats:
- Choose a visible spot on the hat for the bow.
- Sew the bow onto the hat or glue it in place.
Final Touches
Before your bow graces a hairstyle, adding those final touches can really make it stand out. Whether it’s a sparkle of glamour or a stitch of security, this is where your bow comes to life.
Adding Embellishments
Personalize your bow with embellishments that reflect your style or the occasion.
Consider sewing a button at the center for a classic look, or glue on flowers for a sweet, spring vibe.
Rhinestones add a dash of elegance and are perfect for evening events.
You can stick or sew these adornments, depending on the material and your preference.
Finishing with a Threaded Needle
Securing your bow with a threaded needle ensures durability.
Use a color that matches your ribbon, and make small, tight stitches to attach the bow to a hair clip or band.
This careful stitching makes sure your creation won’t come apart during wear.
Remember, the backstitch is your friend for strength and stability in your handiwork.
DIY Tutorials and Patterns
Creating your own hair bows is a fun and rewarding DIY project. You’ll find plenty of printable patterns and online tutorials to guide you through each step.
Printable Patterns and Guides
For DIY enthusiasts who prefer following detailed instructions, several printable patterns can serve as your blueprint.
Each pattern includes specific measurements and shapes, ensuring that every bow you make has a professional and polished look.
To begin, you can check out the comprehensive patterns at The Craftaholic Witch, which cover multiple designs and styling options meticulously.
Online Video Tutorials
If you’re more of a visual learner, YouTube tutorials are a fantastic resource.
You can watch as experts craft beautiful bows, often revealing tips and tricks along the way.
For starters, watch the DIY handmade ribbon hair bow tutorial using a bow template. It breaks down the process into easy-to-follow steps.
Another resource worth following is the walkthrough on creating a simple and elegant hair bow, available on this YouTube channel. They cater to various skill levels, from beginner to advanced.
Safety and Maintenance Tips
When crafting hair bows with ribbons, your safety is just as important as the beauty of the final product. Here are tips for using tools safely and keeping your bows in top condition.
Using Glue and Scissors Safely
Hot glue can be extremely useful but can just as easily cause burns if not handled correctly.
Always keep the hot glue gun on a stable surface and use a silicone mat to prevent the glue from sticking to your workspace.
When cutting ribbon, use sharp scissors to make clean cuts.
This not only helps with precision but also reduces the chance of the scissors slipping.
- Hot Glue Tips:
- Keep glue gun on a silicone mat.
- Avoid touching the nozzle or melted glue.
- Unplug after use to prevent overheating.
- Scissor Safety:
- Cut on a stable surface away from your body.
- Store with blades closed and in a safe place.
- Keep the scissors clean to maintain sharpness.
Maintaining the Quality of Bows
Once you’ve created your beautiful bows, proper storage is key to maintaining their quality.
Store your bows in a cool, dry place, ideally in a storage box to prevent dust accumulation and damage.
Avoid placing heavy objects on top of the bows to maintain their shape.
- Storage Tips:
- Use a dedicated storage box or drawer.
- Keep them flat and don’t overload to preserve shape.
- If bows become wrinkled, lightly iron them on a low heat setting (ensure the ribbon material can be ironed without melting).
Styling and Wearing Hair Bows
Hair bows can elevate your look whether you’re aiming for elegance or looking to add a playful touch. The right bow can enhance your outfit and reflect your style and personality.
Matching Bows with Outfits
Pattern and Color: When selecting a hair bow, consider the color and pattern of your outfit.
A solid-colored bow can complement a patterned dress, providing a beautiful contrast.
Conversely, if your dress is a single color, a bow with a bold pattern or a sparkling texture could serve as a charming focal point.
- Formal Events: For dresses with intricate designs or for formal wear, choose a hair bow with a subdued style or a smaller size to maintain a sophisticated look.
- Casual Outfits: With casual attire, feel free to experiment with larger bows or those with vibrant colors that express your playful side.
Choosing Bows for Different Age Groups
For Children: When picking bows for kids, durability and comfort are key.
Bows with soft, rounded edges and constructed with flexible materials prevent discomfort during wear.
Choose bright colors or bows with popular cartoon characters for a touch that children will love.
- Toddlers: For toddlers, opt for smaller, secure clips that won’t easily come off during play.
- Older Children: Girls in the 5-12 age range might prefer themed bows or those that match their favorite outfits.
For Teens and Adults: Teens and adults might gravitate towards more sophisticated bow styles, like those made with satin or velvet, and those that match their hair color or the season.
- Teens: Bands with bows or thin ribbons are popular, providing a trendy yet understated look.
- Adults: For a more professional setting, smaller bows with neutral colors or simple designs can add an elegant touch to your hairstyle, without overpowering it.
Ideas for Bow Projects

Delve into the creative world of bow-making where you can transform simple ribbon into charming hair accessories. Whether you’re crafting for special events, holidays, or everyday style, you’re sure to find a bow design that captures your imagination and matches the occasion.
Holiday-Themed Bows
Holiday celebrations are the perfect backdrop for themed ribbon hair bows.
For Halloween, consider making bows that feature classic motifs like pumpkins or bats. Use orange and black ribbon, or get playful with glow-in-the-dark material.
When December rolls around, handmade Christmas bows can include elements like little bells or use the shiny red and green ribbon to echo the festive colors.
Your daughters can wear these to school parties or family gatherings, adding a princess touch to their holiday attire.
Special Occasion Bows
Special occasions call for that extra touch of elegance.
Satin or velvet ribbons in muted shades can make beautiful bows for formal events such as weddings or christenings.
For birthdays or graduations, consider incorporating the celebrant’s favorite colors or add personalized charms to make the ribbon bows truly unique.
Remember, the design of these bows should complement the importance of the event, so think about details like beading or using layers of different ribbon textures.
Bows for Daily Wear
Your bow collection wouldn’t be complete without options for daily wear.
These bows should be versatile and durable since they’ll hang in your daughters’ hair during various activities—from school to playtime.
Think about neutral colors that can match a variety of outfits, or patterned ribbons for a playful twist.
Simple designs are best for daily wear bows, as they’re easy to pair with casual accessories and can withstand the rough and tumble of everyday use.
Marketing Your Handmade Bows
Success in selling your handmade hairbows hinges on effective marketing. Whether you’re reaching out directly to customers or connecting through crafting communities, the right strategies can help turn your passion into profit.
Opening an Online Store
Starting your own store offers full control over how you present and sell your bows.
Platforms like Etsy are user-friendly for beginners and provide an easy way to list your products.
Be sure to describe your bows clearly and provide quality photos.
You can also consider creating affiliate links to track where your customers come from and reward those who promote your items.
Promoting on Social Media
Social media platforms are excellent to showcase your creations and engage with potential customers.
Use Instagram and Pinterest to post beautiful images of your hairbows, and Facebook to create a page for your store.
Regular updates and behind-the-scenes posts can create a loyal following.
Using targeted ads on these platforms can boost your visibility among interested buyers.
Craft Fairs and Local Markets
Engaging with customers face-to-face at craft fairs and local markets is invaluable. It allows you to display the quality of your handmade bows firsthand.
Bring plenty of business cards and encourage visitors to follow you on social media or visit your online store. This can lead to sustaining long-term relationships with customers who appreciate crafting.
Resources and Inspiration
When embarking on your journey to create stunning hair bows with ribbons, having the right resources can make all the difference.
From vivid design ideas to finding the best materials, the wealth of inspiration available can help you craft beautiful accessories.
Books and Magazines
In your local bookstore or library, you can find a plethora of books and magazines dedicated to crafting and ribbon art.
These publications often come with step-by-step instructions and high-quality photographs to guide you. They are a tangible source you can refer to again and again for patterns, tips on selecting materials, and keeping up with the latest trends in hair bow designs.
- Ribbonwork: The Complete Guide – offers comprehensive tutorials for all levels.
- Making Ribbon Leis and Other Gifts: This not only serves as inspiration but also teaches intricate designs which can be adapted to hair bow making.
Online Communities and Forums
The internet abounds with online communities and forums. Enthusiasts share their creations and offer advice. Whether you’re a novice or an expert in making hair bows, these platforms can be an invaluable resource.
- Craftaholic Witch: Provides easy tutorials with cute designs.
- Simply September: Shares a user-friendly method for DIY ribbon hair bows and great ribbon selection tips.
In these spaces, you can connect with other crafters. You can also participate in challenges and exchange design ideas. These ideas can inspire your next project. It’s also an excellent way to stay motivated and receive feedback on your creations.